Skip to content
 Want to create your own skincare but don’t know where to start? Making oils and lotions can seem complex and intimidating. I’ll guide you through the simple, essential steps.
To make body oil, you simply mix a carrier oil with essential oils. To make lotion, you must emulsify (blend) oil and water phases using heat and an emulsifying wax, then add preservatives to keep it safe. The key difference is the addition of water.

You see, making a body oil is wonderfully simple, but creating a lotion requires a bit more science. The main challenge with lotion is successfully blending oil and water and then keeping it safe from bacteria. Let’s start with the easy one first and then tackle the more complex, but very rewarding, process of making a stable, professional-quality lotion.
How do I make a simple body oil?
Want a luxurious body oil without the high price tag? Store-bought oils can be expensive and full of synthetic ingredients. Let’s create a pure, simple, and beautiful one yourself.
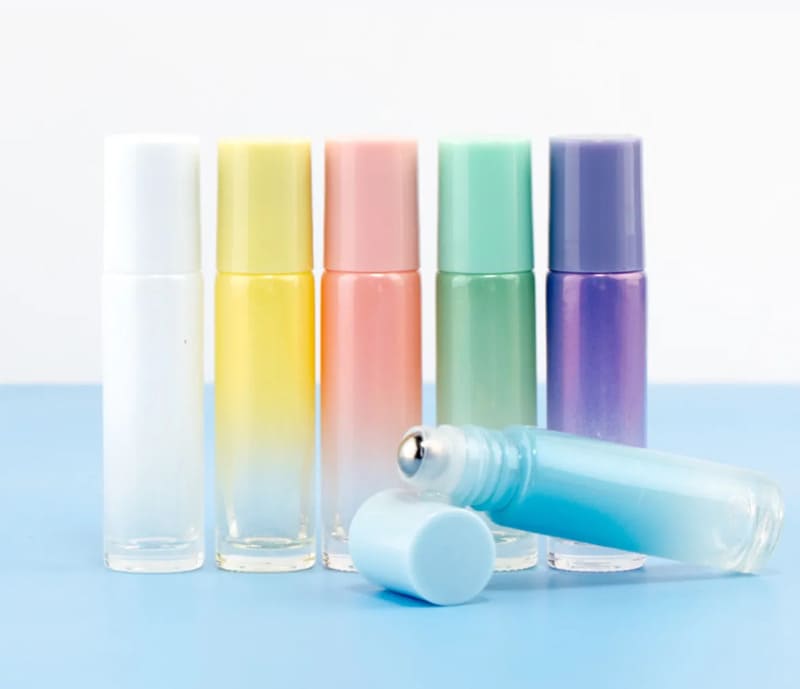
To make a simple body oil, choose a carrier oil like jojoba or sweet almond. Pour it into a clean bottle, then add a few drops of your favorite essential oil for scent and benefits. A good ratio is 10-15 drops of essential oil per 100ml of carrier oil.

The beauty of making your own body oil is in its simplicity and the quality of the ingredients you choose. You have complete control over the final product.
Choosing Your Ingredients
The foundation of your product is the carrier oil. This is the bulk of your formula, so choose one that your skin loves. Different oils have different properties, textures, and absorption rates. For example, jojoba oil is very similar to our skin’s natural sebum, making it a great choice for all skin types. Sweet almond oil is rich in Vitamin E and is incredibly nourishing for dry skin.
Here are a few popular choices:
| Carrier Oil | Best For Skin Type | Key Benefit |
|---|---|---|
| Jojoba Oil | All, especially Oily | Balances oil production, absorbs quickly. |
| Sweet Almond Oil | Dry, Sensitive | Deeply moisturizing, rich in Vitamin E. |
| Fractionated Coconut Oil | All Types | Very light, non-greasy, long shelf life. |
| Apricot Kernel Oil | Mature, Dry | Nourishing and helps improve skin tone. |
Once you have your base, you can add essential oils for fragrance and therapeutic benefits. Lavender is calming, while lemon or peppermint can be uplifting and energizing. Always mix well.
What are the key steps to making a stable lotion?
Have you tried making lotion only for it to separate or grow mold? Creating a stable, safe lotion that feels great is tricky. I’ll show you the essential steps professionals use.
To make a stable lotion, you need three key phases: a water phase, an oil phase, and a cool-down phase. You heat the oil and water phases separately, combine them while blending with an immersion blender to emulsify, and then add preservatives during the cool-down phase.

This three-phase process is the foundation of cosmetic chemistry. It ensures all your ingredients are incorporated correctly and your final product is stable. I work with clients like Anna, a brand owner in Thailand, who follows these principles to create lotions that are safe and loved by her customers.
The Three-Phase Process
Let’s break down what goes into each phase. For a successful lotion, you must measure your ingredients by weight, not volume, for accuracy.
- 1. The Oil Phase: This includes your liquid carrier oils (like almond or jojoba), butters (like shea or cocoa butter), and most importantly, an emulsifying wax. The emulsifying wax is a special ingredient that has a "head" that loves water and a "tail" that loves oil, allowing it to bind the two together.
- 2. The Water Phase: This is primarily distilled water. You must use distilled water because tap water contains microbes and minerals that will spoil your lotion. You can also include water-soluble ingredients like glycerin, which draws moisture to the skin.
- 3. The Cool-Down Phase: After you’ve blended the hot oil and water phases into a beautiful emulsion, you let it cool. This is when you add your heat-sensitive ingredients: a broad-spectrum preservative (this is not optional!), essential oils for scent, and delicate vitamins.
Why is a preservative necessary for my lotion?
Worried about adding "chemicals" like preservatives to your natural lotion? An unpreserved lotion can grow dangerous bacteria and mold. Let’s discuss why a preservative is your most important safety ingredient.
A preservative is absolutely necessary for any product containing water, like lotion. Water allows mold, yeast, and bacteria to grow. A broad-spectrum preservative stops this contamination, making your lotion safe to use for more than a few days and preventing serious skin infections.

This is the most critical safety step in lotion making. I cannot stress this enough. Any brand, from a small home business to a large manufacturer, must prioritize safety. Selling or even giving away an unpreserved lotion is irresponsible. The risk of contamination is not just about the product looking "off"; it’s about preventing harmful pathogens from being spread on the skin.
The Dangers of Water
Water is life, and that’s the problem. It’s the perfect breeding ground for microbes. A beautiful, creamy lotion can be teeming with invisible bacteria within days if left unpreserved. You must also understand the difference between an antioxidant and a preservative. Many people believe Vitamin E or rosemary extract will preserve their lotion, but this is incorrect.
| Ingredient Type | Function | Examples |
|---|---|---|
| Antioxidant | Slows down the oxidation (rancidity) of oils. | Vitamin E, Rosemary Oleoresin Extract |
| Preservative | Kills or prevents the growth of microbes. | Germall Plus, Optiphen, Phenonip |
You need a broad-spectrum preservative that protects against bacteria, yeast, and mold. These are safe and effective when used at the correct low percentage (usually 0.5% to 1.5% of your total formula).
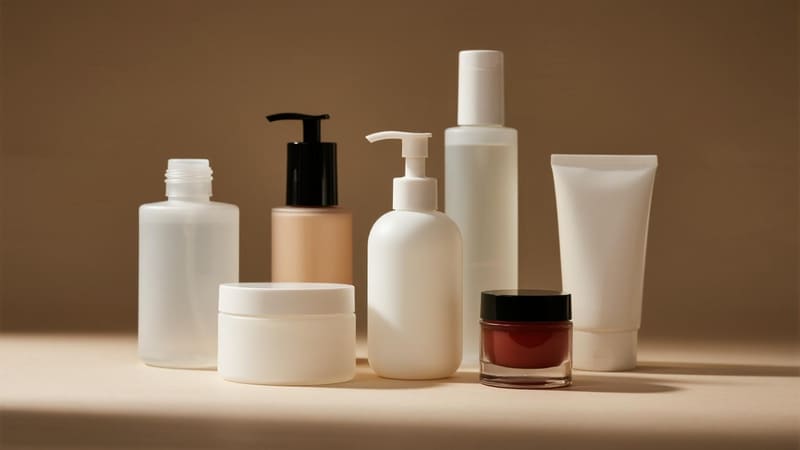
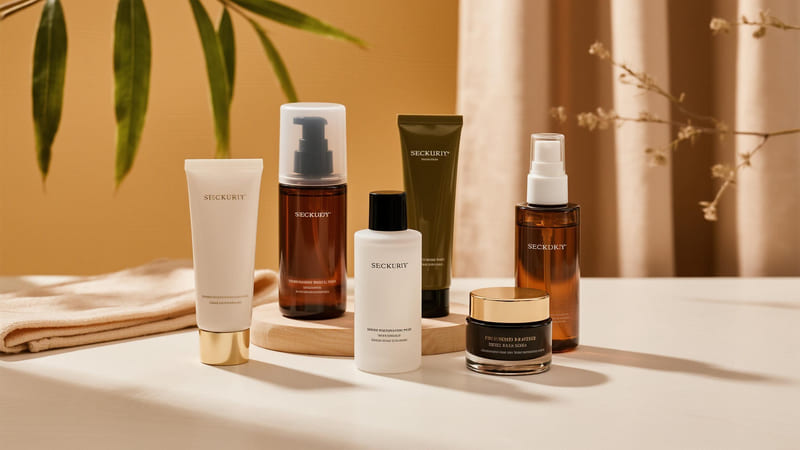
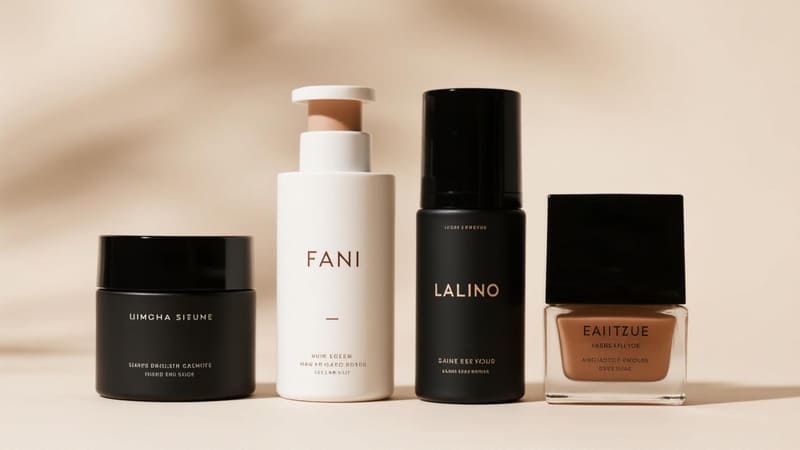
What is the best packaging for homemade oils and lotions?
You’ve made a perfect product, but will it last? The wrong container can spoil all your hard work by letting in air, light, and bacteria. Let’s choose packaging that protects your creation.
For body oils, use dark glass (amber or cobalt) bottles with a pump or dropper to protect from UV light. For lotions, use opaque bottles with a pump or, even better, airless pump jars. Airless packaging is the best choice as it prevents contamination and oxidation.

As a packaging expert, this is where I see many new brands make mistakes. Your container is not just for holding the product; it’s part of the product’s safety and stability system. My client Mohammed, who creates custom gift sets, learned this firsthand. He wanted a premium look for his client’s lotion. We chose our airless pump bottles, which not only look sleek but also protect the formula inside, enhancing the brand’s image of quality and care.
Packaging for Oils vs. Lotions
The right choice depends on your formula.
- For Body Oils: Since oils don’t contain water, the main enemy is light and oxygen, which cause rancidity. Dark glass bottles are perfect because they block UV light. For dispensing, a dropper offers a luxurious, controlled application, while a pump is convenient for everyday use.
- For Lotions: The main enemy here is microbial contamination. This is why wide-mouth jars are a terrible choice for water-based lotions. Every time you dip your fingers in, you introduce new bacteria. A bottle with a lotion pump is a much better option. The ultimate choice is an airless pump. This technology uses a piston to push the product up, meaning no air ever gets inside. This keeps the product fresh and potent for much longer.
| Product Type | Key Concern | Best Packaging Solution |
|---|---|---|
| Body Oil | UV Light, Oxidation | Dark Glass Bottle (Pump/Dropper) |
| Lotion | Bacteria, Oxidation | Airless Pump Jar or Lotion Pump Bottle |
Conclusion
Making body oil is a simple mix of oils. Making lotion requires emulsifying oil and water, and adding a preservative is essential for safety. The right packaging protects your final product.