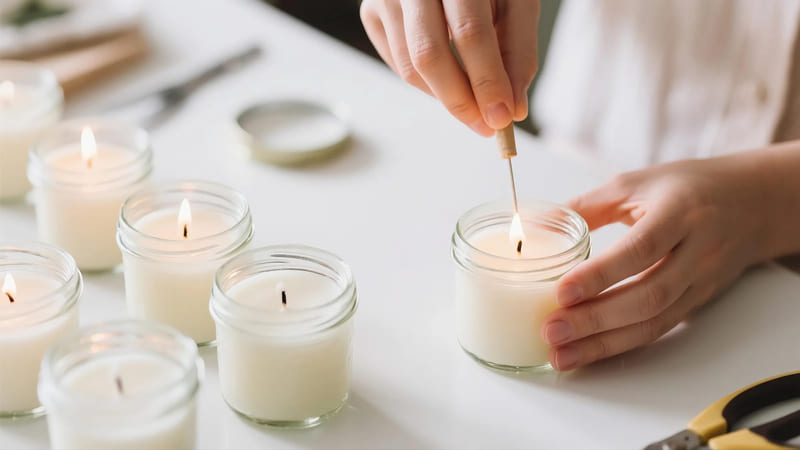
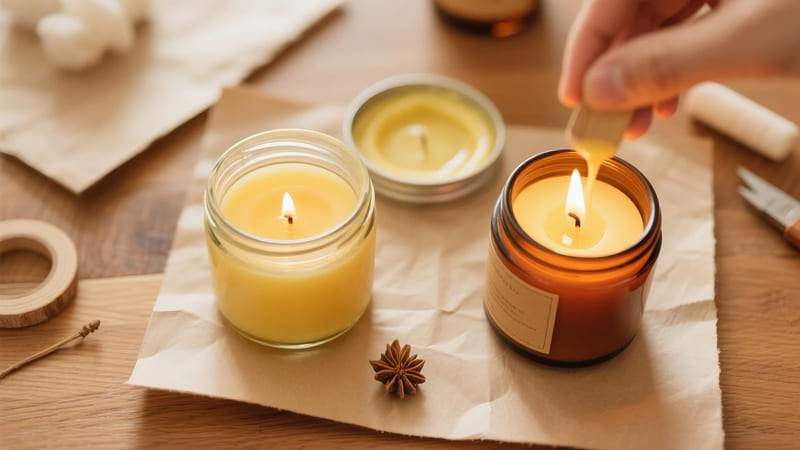
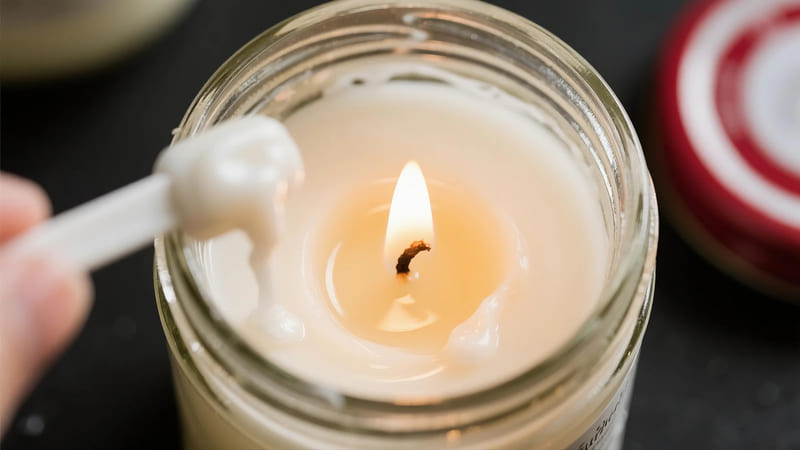
Creating your own scented candles in a jar can be a wonderfully rewarding and aromatic DIY project. It allows you to customize scents, colors, and styles, perfect for gifts or adding a cozy ambiance to your home.
To make scented candles in a jar, melt soy wax (or another suitable wax) in a double boiler, add fragrance oil and optional dye once the wax cools slightly, secure a wick in a clean, heat-resistant jar, pour the scented wax into the jar, and let it cure completely.
Making jar candles is a popular craft because it’s relatively simple once you understand the basics, and the results can be beautiful and fragrant. As someone in the packaging industry with ShineTop, I appreciate the care that goes into creating a complete product, from contents to container. Let’s walk through the process.
How to Make Homemade Scented Candles in a Jar?
With a few key supplies and a bit of patience, you can easily craft beautiful, fragrant jar candles right in your kitchen. This step-by-step guide will get you started.
To make homemade scented candles in a jar: 1. Gather supplies (wax, wicks, fragrance oil, dye, heat-resistant jars, double boiler, thermometer). 2. Melt wax gently. 3. Add fragrance and dye at the correct temperature. 4. Prepare jars by centering and securing wicks. 5. Pour wax carefully. 6. Let candles cure.
Here’s a more detailed breakdown of the process:
Supplies You’ll Need:
- Wax: Soy wax flakes are popular for beginners (natural, clean-burning). Paraffin, beeswax, or palm wax are other options.
- Wicks: Pre-tabbed wicks sized appropriately for your jar diameter. Cotton or wood wicks.
- Fragrance Oil: Specifically designed for candle making (not essential oils directly, unless diluted and tested, as some can be flammable or not perform well).
- Candle Dye (Optional): Liquid or block dye made for candles.
- Heat-Resistant Jars: Clean and dry. (See previous discussion on suitable jars).
- Double Boiler: Or a pouring pitcher/pot placed inside a larger pot with simmering water.
- Thermometer: Candy or candle-making thermometer.
- Wick Holders/Centering Tools: (e.g., chopsticks, pencils, clothespins, or specialized tools).
- Stirring Utensil: (e.g., wooden skewer, silicone spatula – dedicated to candle making).
- Scale: To measure wax and fragrance oil accurately.
- Newspaper or Protective Covering: For your work surface.
- Safety Gear: Oven mitts, apron.
Step-by-Step Instructions:
- Prepare Your Workspace: Cover your work area with newspaper. Have all your supplies ready.
- Prepare Jars & Wicks:
- Ensure jars are clean and completely dry.
- Secure the metal tab of the wick to the center bottom of each jar. You can use a dab of hot glue (from a glue gun) or a wick sticker.
- Use a wick holder or two pencils/chopsticks laid across the jar opening to keep the wick centered and taut.
- Measure and Melt Wax:
- Measure out your wax flakes by weight. (A general rule: fill your jar twice with flakes to estimate the melted wax needed for one jar).
- Melt the wax gently in a double boiler or a pouring pitcher set in a saucepan with a few inches of simmering water. Do not let the water boil vigorously or splash into the wax.
- Stir occasionally until all wax is melted and clear. Use your thermometer to monitor the temperature. Most soy waxes melt around 120-180°F (49-82°C), but check your specific wax instructions. Never leave melting wax unattended.
- Add Fragrance Oil & Dye (If Using):
- Once the wax is fully melted, remove it from the heat.
- Let the wax cool slightly to the temperature recommended by your fragrance oil supplier (usually around 180-185°F or 82-85°C for many soy waxes, but this varies). Adding fragrance when the wax is too hot can cause it to evaporate.
- Add your pre-measured fragrance oil (typically 0.5 to 1 oz of fragrance per pound of wax, or 6-10% by weight – check recommendations).
- Stir gently but thoroughly for about 1-2 minutes to ensure the fragrance oil binds completely with the wax.
- If using dye, add it now, a little at a time, stirring until you achieve the desired color.
- Pour the Wax:
- Check the wax temperature again. The ideal pouring temperature for most soy waxes is around 130-145°F (54-63°C) to minimize issues like sinkholes or "frosting."
- Slowly and carefully pour the scented wax into your prepared jars, avoiding splashing. Leave about 1/2 inch of space from the top.
- Center the Wick (Again):
- If the wick has shifted during pouring, gently re-center it while the wax is still liquid. Ensure it remains straight as the wax cools.
- Let the Candles Cure:
- Place the candles on a flat, heat-resistant surface in a draft-free area at room temperature.
- Allow them to cool and solidify completely, undisturbed, for at least 24 hours. Some waxes, especially soy, benefit from a longer "cure time" (1-2 weeks) for the best scent throw when burned.
- Trim the Wick:
- Once fully cured, trim the wick to about 1/4 inch before the first burn.
How Do I Make My Own Scented Candles?
Making your own scented candles, beyond just the jar method, involves the same core principles: melting wax, adding scent, and incorporating a wick into a safe container or mold.
To make your own scented candles, you’ll follow the basic steps of melting a suitable candle wax, adding candle-specific fragrance oils at the correct temperature, choosing an appropriate wick for your candle size and wax type, and pouring the mixture into a heat-safe container or mold, then allowing it to cure.
The process is fundamentally the same whether you’re making jar candles, pillar candles (which require molds), votives, or tea lights. The main differences lie in the type of container/mold and potentially the wax blend or wick type.
Key Considerations for Any Homemade Scented Candle:
-
Wax Selection:
- Soy Wax: Natural, clean-burning, good scent throw (especially after curing). Prone to frosting or wet spots in jars but generally beginner-friendly.
- Paraffin Wax: Traditional, can have a strong scent throw, often less expensive. Petroleum byproduct.
- Beeswax: Natural, very clean-burning, has a subtle honey scent (can affect added fragrances). More expensive. Often used for pillar candles.
- Palm Wax: Creates interesting crystalline patterns. Sourcing can be controversial due to deforestation concerns; look for sustainably sourced options.
- Coconut Wax Blends: Becoming popular for their clean burn and good scent throw.
-
Wick Selection:
- Crucial for a good burn. The wick size (diameter) must match the diameter of your candle and the type of wax.
- Too small a wick = tunneling. Too large a wick = excessive flame, sooting, fast burn.
- Types: Cotton core, paper core, zinc core (less common now), wood wicks (provide a crackling sound).
- Always test burn a single candle to check your wicking.
-
Fragrance Oil:
- Use oils specifically designed for candle making. Essential oils can be used, but some are flammable at high concentrations, may not bind well with wax, or may have a weak scent throw in candles. If using EOs, research their suitability and flashpoints.
- Fragrance Load: Typically 6-10% by weight of wax. Too much can cause poor burning or sweating.
- Flash Point: The temperature at which the fragrance oil vapors can ignite. Always add fragrance oil to wax that is below the oil’s flash point but hot enough for proper binding (check supplier recommendations).
-
Safety:
- Never leave melting wax unattended.
- Work in a well-ventilated area.
- Keep flammable materials away.
- Use a thermometer to control wax temperature.
- Handle hot wax with care.
-
Testing:
- Always make a test candle first to check wick performance, scent throw, and overall appearance before making a large batch.
Making candles is a science as much as an art. Precision with measurements and temperatures leads to better, safer candles.
What are 3-4 Mistakes to Watch For When Making Soy Candles?
Soy wax is a favorite for many home candle makers due to its natural properties, but it can be a bit finicky. Knowing common mistakes can help you achieve better results.
Common mistakes when making soy candles include: 1. Overheating the wax or adding fragrance/dye at the wrong temperature (affecting scent throw and appearance). 2. Incorrect wick size (leading to tunneling or excessive flame). 3. Pouring wax too hot or cooling candles too quickly (causing sinkholes, cracks, or frosting). 4. Using too much or the wrong type of fragrance oil.
Soy wax candles can be beautiful, but avoiding these pitfalls will improve your success rate:
-
Temperature Control Issues:
- Overheating Soy Wax: Can damage the wax, leading to discoloration or poor scent throw. Stick to the manufacturer’s recommended maximum temperature.
- Adding Fragrance Oil When Wax is Too Hot: The fragrance can "burn off" or evaporate, resulting in a weakly scented candle.
- Adding Fragrance Oil When Wax is Too Cool: The oil may not bind properly with the wax, leading to "sweating" (oil seeping out) or poor scent throw.
- Pouring Wax Too Hot: Can cause excessive shrinkage, leading to sinkholes around the wick or "wet spots" (where wax pulls away from the jar). It can also contribute to frosting.
- Pouring Wax Too Cool: Can result in a lumpy surface or poor adhesion to the jar.
-
Incorrect Wicking:
- Wick Too Small: The flame won’t be large enough to melt the wax all the way to the edges of the jar, causing "tunneling" (where the wick burns down the center, leaving a wall of unmelted wax).
- Wick Too Large: Results in a large, flickering flame, excessive soot, a mushrooming wick, and the candle burning too quickly. It can also make the container dangerously hot.
- Solution: Always choose a wick sized for your jar diameter and soy wax type. Test burns are essential.
-
Cooling Process Problems:
- Cooling Too Quickly: Placing candles in a very cold room, near a draft, or trying to speed up cooling (e.g., in the fridge) can cause cracks, sinkholes, or increase frosting.
- Uneven Cooling: Can also lead to surface imperfections.
- Solution: Let candles cool slowly and evenly at a consistent room temperature, away from drafts.
-
Fragrance Oil Issues:
- Using Too Much Fragrance Oil: Exceeding the wax’s maximum fragrance load (usually 10-12% for soy) can cause the oil to seep out ("sweating"), create a poor burn, or even be a fire hazard.
- Using Fragrance Oils Not Designed for Soy Wax: Some fragrance oils perform better in soy than others. Ensure your FO is compatible.
- Not Stirring Enough (or Too Vigorously): Stir fragrance oil in gently but thoroughly for at least 1-2 minutes to ensure it’s fully incorporated. Over-stirring can introduce air bubbles.
Bonus Tip: "Frosting"
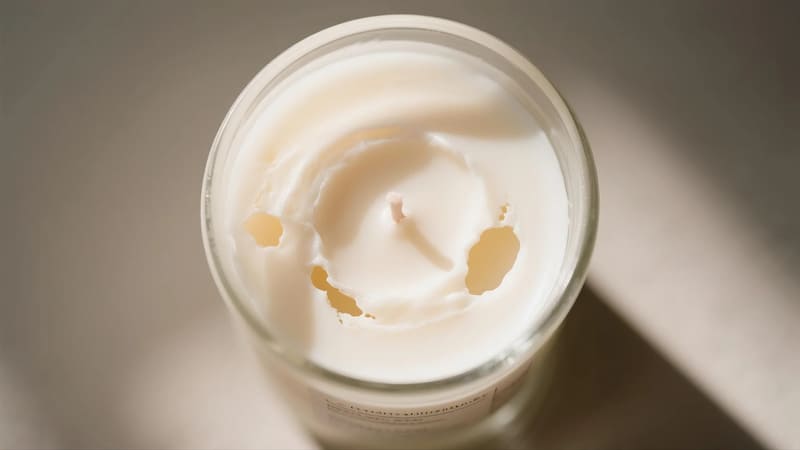
This is a common characteristic of natural soy wax, appearing as white crystalline formations on the surface or sides of the candle. It doesn’t affect the burn but can be an aesthetic concern. Pouring at a lower temperature, using certain additives (if desired), or preheating jars slightly can sometimes help minimize it.
What is the Easiest Way to Get Candle Wax Out of a Jar?
Whether you’re cleaning a jar to reuse for a new candle or just want to repurpose a finished candle jar, getting that last bit of wax out can seem tricky. Luckily, there are a few easy methods.
The easiest ways to get candle wax out of a jar are: 1. The Freezer Method (freeze the jar, wax shrinks and pops out). 2. The Hot Water Method (pour hot water into the jar, wax melts and floats, then solidifies for removal). 3. The Oven Method (gently heat jars upside down on a lined tray).
Choose the method that best suits you and the type of jar.
Easy Wax Removal Methods:
-
The Freezer Method:
- How: Place the jar with the remaining wax into the freezer for several hours (or until the wax is frozen solid).
- Why it Works: Wax contracts when it freezes, causing it to shrink away from the sides of the jar.
- Removal: Once frozen, the wax puck should pop out easily, or you can gently pry it out with a dull knife (like a butter knife). If there’s a wick tab at the bottom, it might need a little nudge.
- Pros: Clean, generally mess-free.
- Cons: Might not work as well for very soft waxes or if there’s very little wax left.
-
The Hot Water Method (Double Boiler or Direct Pour):
- Double Boiler Style: Place the candle jar in a saucepan. Add enough water to the saucepan to come up the sides of the jar without overflowing into it. Gently heat the water on the stove until the wax in the jar melts. Carefully remove the jar (it will be hot!) and pour out the melted wax into a trash can (not down the sink!).
- Direct Pour Style (for jars with some wax left but not too much): Boil some water. Carefully pour the hot (but not boiling, to avoid thermal shock to some glass) water into the candle jar, leaving some space at the top.
- Why it Works: The hot water melts the wax. The wax, being less dense than water, will float to the top.
- Removal: Let the water cool completely. The wax will solidify into a disc on top of the water, which can then be easily lifted out. Pour out the water.
- Pros: Effective for most waxes.
- Cons: Be careful with very hot water and glass. Dispose of waxy water responsibly.
-
The Oven Method (Good for Multiple Jars):
- How: Preheat your oven to a low temperature (around 180-200°F or 82-93°C). Line a baking sheet with parchment paper or aluminum foil. Place the empty candle jars upside down on the lined baking sheet.
- Why it Works: The gentle heat will melt the remaining wax, which will drip onto the liner.
- Removal: After about 15-20 minutes (or once wax has melted), carefully remove the baking sheet from the oven. The jars will be hot. Let them cool slightly before handling.
- Pros: Good for cleaning multiple jars at once.
- Cons: Oven needs to be used; jars get very hot.
After Removing Bulk Wax:
Regardless of the method, there might be some waxy residue or a wick tab left.
- Wipe out any remaining residue with a paper towel while the jar is still slightly warm (if using heat methods).
- Pry off the wick tab with a dull knife.
- Wash the jar thoroughly with hot soapy water.
Now your jar is ready for its next life, whether as a new candle or for another creative purpose!
Conclusion
Making scented candles in a jar at home is a delightful craft that combines creativity with basic scientific principles. By using the right materials, controlling temperatures, wicking correctly, and following safety precautions, you can create beautiful, fragrant candles. And when they’re done, cleaning out the jars for reuse is simple, making the hobby even more sustainable and enjoyable.

