Skip to content
 Essential oil bottles are designed to be secure, protecting the potent oil inside from leaking and preventing easy access by children. However, this can sometimes make them tricky to open, especially if the cap is on tight or you’re dealing with a new bottle.
To open an essential oil bottle easily and safely, first ensure your hands and the bottle are dry. For a standard cap, push down firmly while twisting counter-clockwise. For a stuck cap, use a rubber grip or tap the lid gently. To remove the orifice reducer for refilling, use a specialized tool or the edge of the cap for leverage.

Opening these bottles doesn’t have to be a struggle. As a packaging manufacturer with ShineTop, we produce many of these bottles and caps, so we understand their mechanics. Following a few simple techniques will ensure you can access your oils without frustration or spills.
How to Open a Standard Essential Oil Bottle (with Child-Resistant Cap)
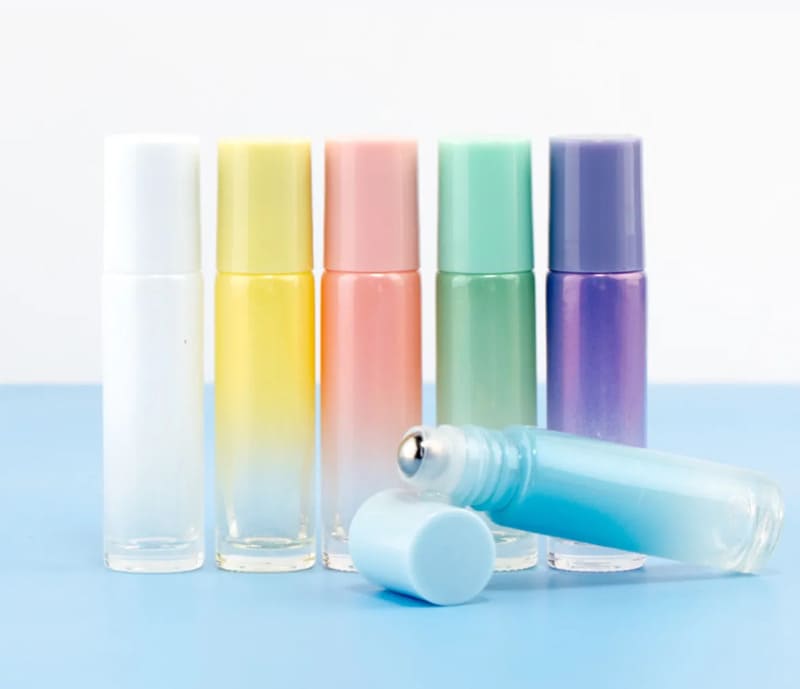
Most essential oil bottles sold today come with a child-resistant cap (CRC) for safety. This is the most common type you’ll encounter and requires a specific two-part motion to open.
To open a standard essential oil bottle with a child-resistant cap, place the bottle on a flat surface, grip the cap firmly, and apply downward pressure while simultaneously turning the cap counter-clockwise. You should feel the threads engage and the cap will begin to unscrew.
 ![]()
![]()
This push-and-twist mechanism is designed to be difficult for young children who may not have the coordination or strength to perform both actions at once.
Step-by-Step Instructions:
- Ensure a Good Grip: Make sure your hands and the bottle are clean and dry. Any oil residue can make the cap slippery.
- Place on a Stable Surface: While you can open it in your hand, placing the bottle on a table or countertop can provide extra stability.
- Grip the Cap: Use your dominant hand to grip the entire cap firmly.
- Push Down: Apply firm, steady downward pressure on the cap. You are pushing the outer cap down to engage with the inner cap that is actually threaded onto the bottle.
- Twist Counter-Clockwise: While maintaining the downward pressure, twist the cap to the left (counter-clockwise).
- Listen and Feel: You should feel the "catch" as the two parts of the cap engage, and then the cap will start to unscrew. Once it starts turning, you can often release some of the downward pressure.
Troubleshooting:
- If it’s just spinning without unscrewing: You are likely not applying enough downward pressure. Try pushing down a bit harder before you start to twist.
- If the cap is very tight: See the next section for tips on dealing with stuck caps.
What to Do if the Essential Oil Bottle Cap is Stuck?
Sometimes, even with the correct technique, a cap can be stuck fast due to overtightening, dried oil residue acting like glue, or changes in air pressure.
If an essential oil bottle cap is stuck, first try using a rubber grip pad, a dish towel, or a rubber band wrapped around the cap to get better leverage. If it’s still stuck, you can try tapping the sides of the cap gently with the handle of a screwdriver or running the cap under hot water for 30-60 seconds to help expand it slightly.
Don’t resort to extreme force like using pliers directly on the plastic cap, as this can crack or break it.
Methods for a Stuck Cap:
-
Improve Your Grip (Most Common Solution):
- Rubber Grip Pad: A simple jar opener grip pad is the most effective tool.
- Dish Towel: A dry dish towel can provide the extra friction needed.
- Rubber Band: Wrap one or two thick rubber bands tightly around the cap. This provides an excellent gripping surface.
- Latex/Rubber Gloves: Wearing rubber gloves can also significantly improve your grip.
-
The Gentle Tap Method:
- Grip the bottle firmly.
- Use a solid object like the handle of a butter knife or a small screwdriver to give the sides of the cap several firm (but not forceful) taps all the way around.
- This can sometimes break the seal created by dried oil residue.
- Try opening it again using the push-and-twist method with your improved grip.
-
The Hot Water Method:
- Caution: Use this method carefully to avoid getting water inside the bottle or damaging the label.
- Hold the bottle upside down so the water only touches the cap.
- Run hot (not boiling) tap water over the cap for 30-60 seconds.
- The heat can cause the plastic cap to expand slightly, making it easier to turn.
- Thoroughly dry the cap and bottle, then use a rubber grip to try opening it again.
-
The Freezer Method (Less Common for this issue, but can work):
- Place the bottle in the freezer for 10-15 minutes. The cold can sometimes cause materials to contract at different rates, breaking the seal. Let any condensation dry before trying to open.
Always start with improving your grip, as that solves the problem most of the time.
How to Remove the Orifice Reducer (Plastic Dropper Insert)?
The orifice reducer is the small plastic insert with a hole in the middle that allows you to dispense the oil one drop at a time. You may need to remove it to refill the bottle, add a carrier oil, or clean it.
To remove an orifice reducer, use a specialized "key" tool designed for this purpose. Alternatively, you can use the edge of the bottle cap itself for leverage: place the cap’s edge under the lip of the reducer and gently pry upwards. Using your fingernails is possible but can be difficult and may damage your nails.
Using the right tool or technique makes this process simple and prevents damage to the reducer.
Methods for Removing the Orifice Reducer:
-
Using an Essential Oil Key Tool (Best Method):
- These are small, inexpensive tools (often made of metal or hard plastic) with cutouts designed to fit perfectly under the lip of the orifice reducer.
- How to Use: Slide the appropriate cutout on the tool under the reducer’s edge, then simply lift or tilt the tool. The reducer will pop out easily and cleanly.
-
Using the Bottle Cap (Clever & Convenient):
- This is a great trick if you don’t have a key tool.
- How to Use: Take the bottle cap and turn it so the edge of the cap’s "skirt" is facing the bottle.
- Hook the hard edge of the cap under the lip of the orifice reducer.
- Use the cap as a lever and gently pry upwards. The reducer should pop out.
-
Using Your Fingernails (Not Recommended):
- You can try to dig your fingernails under the edge of the reducer and pull it out.
- Why Not Recommended: It’s often difficult to get a good grip, can be painful, and frequently results in broken or damaged fingernails.
-
Using a Small, Dull Tool (Use with Caution):
- A very small, flat-head screwdriver or the tip of a butter knife can be used to gently pry the reducer out.
- Caution: Be extremely careful not to slip and injure yourself, or to damage the glass neck of the bottle.
Once removed, you can refill your bottle. To re-insert the reducer, simply place it on top of the bottle opening and press down firmly with your thumb until it snaps securely into place.
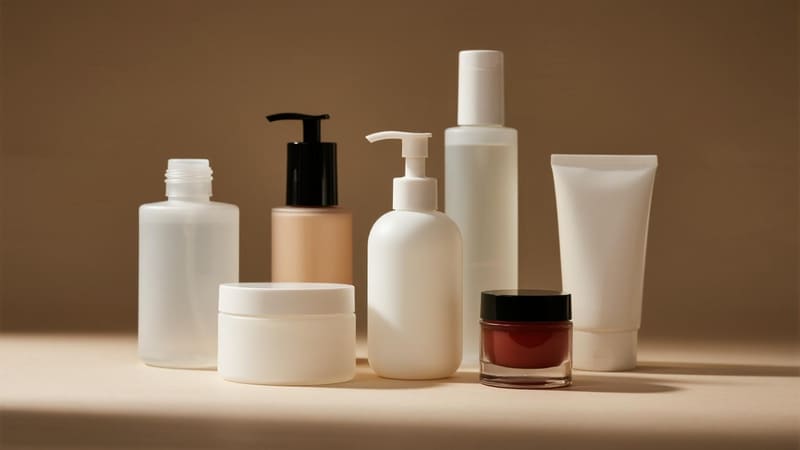
Safety Tips for Handling Essential Oil Bottles
Essential oils are highly concentrated and potent. Handling them and their bottles safely is important for both you and the integrity of the oil.
Safety tips for handling essential oil bottles include: always storing them upright in a cool, dark place away from children and pets; wiping up spills immediately as they can damage surfaces; ensuring caps are tightly sealed to prevent oxidation and leaks; and avoiding direct contact of undiluted oils with skin by using the dropper or orifice reducer for dispensing.
![]()
Following these simple rules will ensure a safe and positive experience with your essential oils.
- Store Properly: Heat and sunlight can degrade essential oils and damage labels. Store bottles upright to prevent oil from sitting on the plastic/rubber components of the cap or dropper for extended periods.
- Keep Away from Children & Pets: The child-resistant caps are a deterrent, not a guarantee. Store your oils out of reach.
- Wipe Spills: Undiluted essential oils can damage wood finishes, plastics, and other surfaces. Wipe up any drips or spills on the bottle or your surfaces immediately.
- Seal Tightly: Oxygen is an enemy of essential oils. Always close the cap tightly after use to minimize oxidation and preserve the oil’s shelf life.
- Avoid Cross-Contamination: If using glass droppers for blending, use a separate, clean dropper for each oil to avoid contaminating your stock bottles.
- Handle with Clean Hands: Avoid touching the orifice reducer or dropper tip to prevent transferring bacteria into your oil.
As a packaging supplier, ShineTop ensures that the glass bottles and closure systems we provide are manufactured to high standards to create a secure seal. For brands like Anna’s in Thailand or Mohammed’s clients in Iraq who use essential oils, this packaging integrity is crucial for delivering a safe, high-quality product.
Conclusion
Opening an essential oil bottle is simple and safe when you use the correct "push down and twist" technique for child-resistant caps. For stuck caps, improving your grip or using gentle heat can solve the problem, while a specialized tool or the cap itself makes removing the orifice reducer a breeze. By following these easy methods and practicing safe handling, you can ensure frustration-free access to your essential oils while preserving their quality and potency.